 Skip to content
Navigation
On May 25, 2023, Canwell Medical hosted a monthly Zoom distributor training course on CanCCS – Headless Cannulated Screw System. Product Specialist Mr. Gu chose Φ4.5/5.0/6.5 Headless Compression Screw Instrument Set for demonstration. With more than 40 international distributors in attendance,
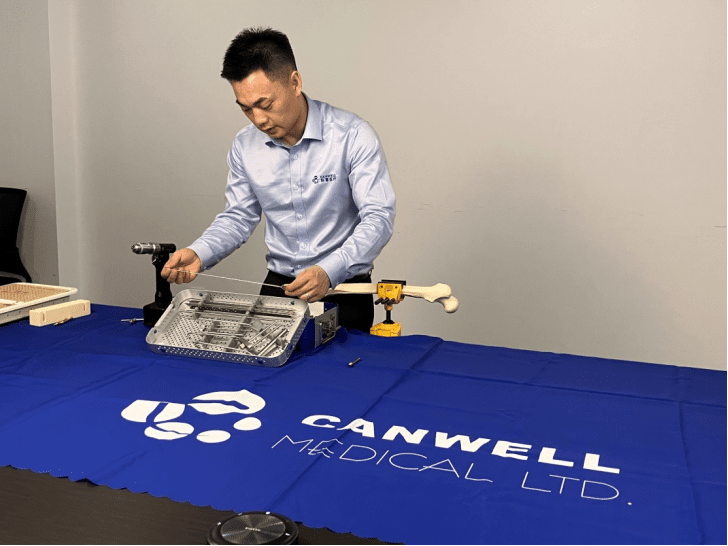
the course offered an informative learning opportunity and a heated Q&A session. Here’s the recap in case you missed it.
What is a Headless Compression Screw?
Canwell Φ4.5/5.0/6.5 Headless Compression Screws are indicated for fixation of fractures, fusions, osteotomies, non-unions, and malunions of various bones and bone fragments including bones of the foot, humerus, femur, and tibia in adults and in both children (2-12 years) and adolescents (12-21 years) in which growth plates have fused or in which growth plates will not be crossed by screw fixation.
Canwell Headless Compression screws are available in a range of sizes from Φ2.5-Φ6.5 mm. They are self-drilling, and self-tapping, and allow surgeons to control compression during fixation procedures.
The headless design helps minimize soft-tissue irritation and hardware prominence, and the screw head design provides improved torque transmission for a fast, secure fit.
Surgical Technique
Introduction:
Headless compression screws are commonly used in orthopedic surgeries to stabilize fractures and osteotomies. This article provides a simplified overview of the surgical technique for inserting headless compression screws. It covers the steps involved in guide wire insertion, determining screw and thread length, predrilling, picking up the screw, inserting the screw, compressing the fragment, countersinking the screw, and screw removal.
Guide Wire Insertion:
Make a stab incision and advance the sleeve assembly (protection sleeve, drill sleeves, and trocar) through the soft tissues to the bone.
Carefully insert the guide wire through the sleeve assembly into the bone until the thread tip is anchored in the far cortex.
Determining Screw and Thread Length:
Use the measuring device to determine the depth of the guide wire in the bone, which indicates the appropriate screw length.
Consider the position of the fracture line to determine the thread length, ensuring the shaft thread lies below the fracture gap for effective compression.
Predrilling:
Insert the appropriate cannulated drill bit over the guide wire and predrill to the desired depth.
Verify the drilling depth using image intensification and ensure the drill bit does not extend beyond the guide wire.
Predrill Near Cortex (Optional):
Use a suitable drill bit to predrill the near cortex, especially in dense bone, to facilitate head insertion and prevent bone cracking.
The depth of predrilling depends on the inclination of the guide wire to the bone.
Pick Up Screw:
Twist the compression sleeve over the head thread of the appropriate length screw to remove the screw from the screw rack.
Insert Screw and Compress Fragment:
Slide the compression sleeve handle into the compression sleeve and insert the screw assembly over the guide wire.
Turn the compression sleeve to insert the screw into the bone, compressing the fracture or osteotomy.
If desired, screw insertion can also be performed using a power drill, ensuring careful manual compression using the compression sleeve handle.
Countersink Screw:
Remove the compression sleeve handle and use a suitable screwdriver to countersink the screw by turning it clockwise while holding the compression sleeve stationary.
Verify the screw position using image intensification to ensure it does not penetrate the distal cortex.
Screw Removal:
If necessary, use the compression sleeve and a compatible screwdriver to remove the screw by turning both counterclockwise while pulling on the compression sleeve.
Conclusion:
The surgical technique for inserting headless compression screws involves several important steps, including guide wire insertion, determining screw and thread length, predrilling, screw insertion, compression, countersinking, and potential screw removal. Following these steps with precision and attention to detail is crucial for successful orthopedic procedures involving headless compression screws.
Q&A
Q1: What’s the Drill bit diameter for 3.0 cannulated screws?
A1: The drill bit should be Φ2.0mm for the Φ3.0 cannulated screw. Drills apply to the different sizes of cannulated screws. Φ3.0 cannulated screw: Φ2.0 drill bit; Φ4.5 cannulated screw: Φ3.2 drill bit.
Q2: Will 4.5mm cannulated screws be placed as non-locking screws with peri-prosthetic plates?
A2: Yes. Cannulated screws can be placed as non-locking screws with peri-prosthetic plates.
Summary
In June, the Zoom distributor training course will be on spine products. Spine line product specialist, Mr. Wu will be doing the demonstration. We look forward to your participation.